I take many screenshots during my day, for work and for fun. I use the Cinnamon desktop environment in Linux Mint. I kept forgetting the keyboard shortcuts to do screenshots directly rather than opening up GNOME Screenshot.
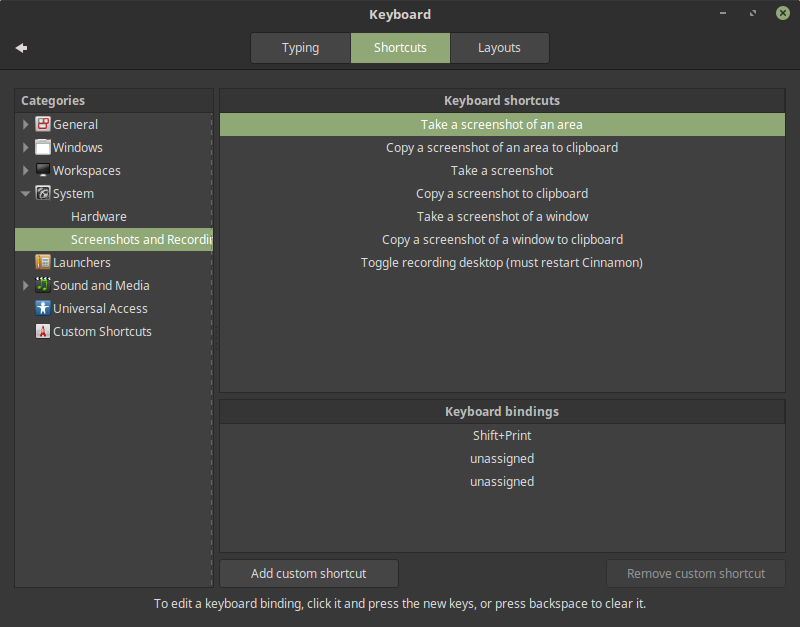
Here are the default shortcuts. You can customize them in Keyboard Settings, as shown in the image that started this post.
Keyboard shortcuts for taking screenshots
| Action | Shortcut |
|---|---|
| Take a screenshot | Print |
| Take a screenshot of a window | Alt + Print |
| Take a screenshot of an area | Shift + Print |
| Copy area to clipboard | Shift + Control + Print |
| Copy screen to clipboard | Control + Print |
| Copy window to clipboard | Control + Alt + Print |
| Toggle recording desktop | [Shift + Control + Alt + R |
Print may have its own special label on your keyboard. On mine the Print key is labeled PrtSc.
Next, with pictures!
Take A Screenshot
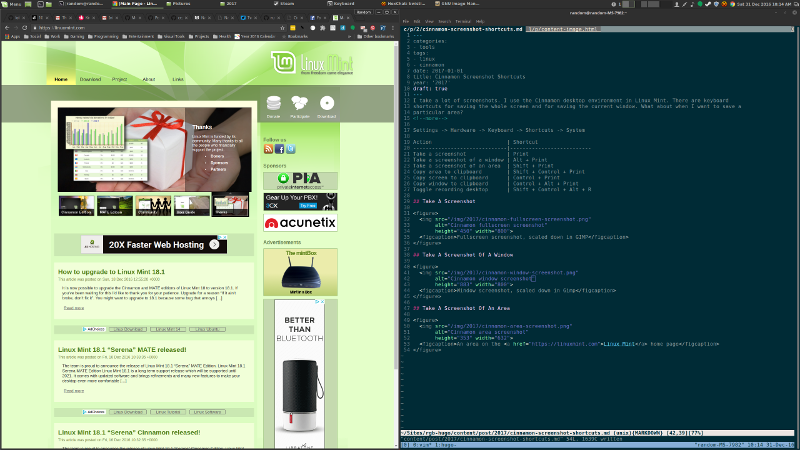
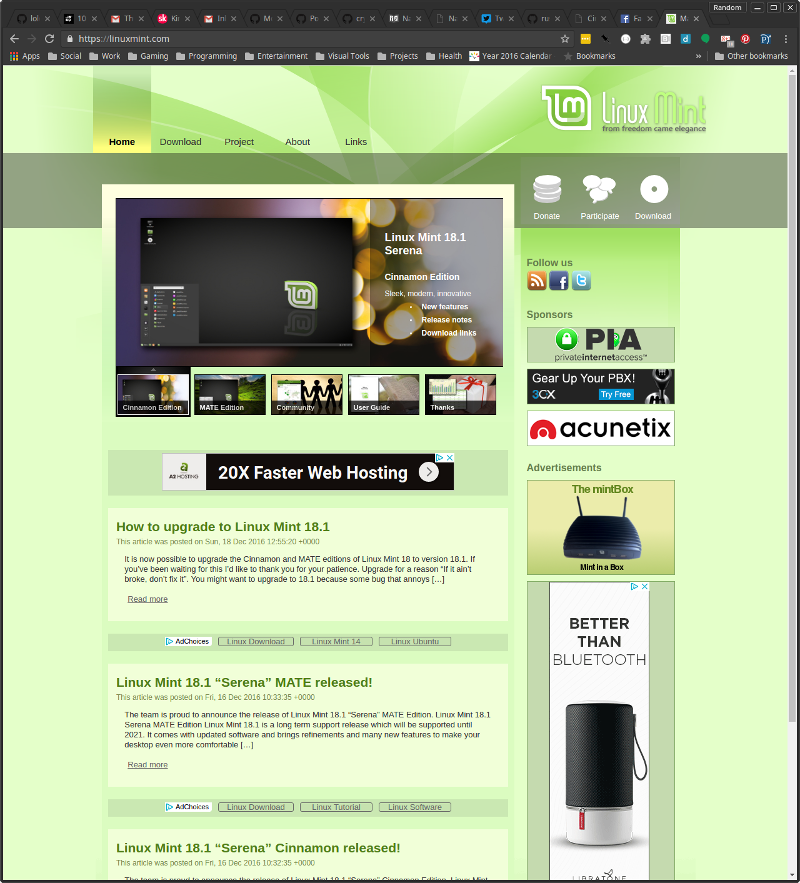
The Print key alone will save your entire screen.

Take A Screenshot Of A Window
Alt + Print together to save a single window.

Take A Screenshot Of An Area
Shift + Print for an area screenshot. Your mouse point will change to a crosshair. Click and drag to select the area you want to save.

Sometimes I had to hit this combo a few times to get it work. That could be a software bug somewhere or it could just be grit in my keyboard.
Record Desktop
WARNING
Okay I’ve never done this part before. I probably missed something important. Be warned if you try it yourself.
Control + Shift + Alt + R will start recording your desktop. The same combo will end the recording session. No sound is recorded. Recordings are saved as WebM files in your home directory. WebM support is widespread, although some browsers require codecs to be installed.
For more advanced screen recording functionality, RecordMyDesktop looks like a good bet.
Wanted to show you a video of the area screenshot functionality. The keyboard shortcut for that doesn’t seem to work when recording. Instead I made a video of using the screenshot application.
I tried several times before I noticed a little red light in the lower right corner when recording is active.
Since this is more to show about recording videos than anything else, I decided the full resolution video was not needed. I installed FFmpeg and used it to resize the video, following the FFmpeg resizing tutorial.
$ sudo apt-get install ffmpeg
$ ffmpeg -i ~/cinnamon-20161231-9.webm -vf scale=720:-1 \
  static/video/2017/cinnamon-desktop-recording.webm
Ta-da!
2024-01-15
Oh no, where did I put the video? Okay well uh use your imagination.
Well — “ta-da” assuming your browser supports WebM.
Backlinks
Added to vault 2024-01-15. Updated on 2024-05-01